
Overloading is a tactic that punishes a piece for having too many jobs. When a single defender is responsible for guarding two (or more) things at once, it’s overworked — and you exploit that by attacking one of its duties. The piece can’t be in two places at once, so when it deals with one threat, the other thing it was guarding falls apart.
Picture a security guard told to watch two doors on opposite ends of a building. The moment trouble starts at one door, the other is wide open. That guard is overloaded — and so is any chess piece doing double duty.
The 10-second version
- One enemy piece is defending two things at the same time.
- You attack (or capture) one of those things.
- The defender has to respond it abandons the other duty.
- You grab the now-undefended target (often with mate).
How does overloading work?
The key is to spot a defender that’s stretched thin — a single piece doing the job of two. Maybe a queen is defending a hanging bishop and covering a back-rank mate square. Maybe a rook is guarding two weak pawns at once. Maybe a knight is the only thing holding two squares together.
Once you find that overworked piece, the plan is simple: force it to choose. You attack or capture one of its responsibilities. The defender, doing its duty, deals with that threat — but in doing so, it lets go of the other thing it was holding. And that’s when you strike at the second target.
The defender isn’t tricked or chased away — it’s simply outnumbered by its own obligations.
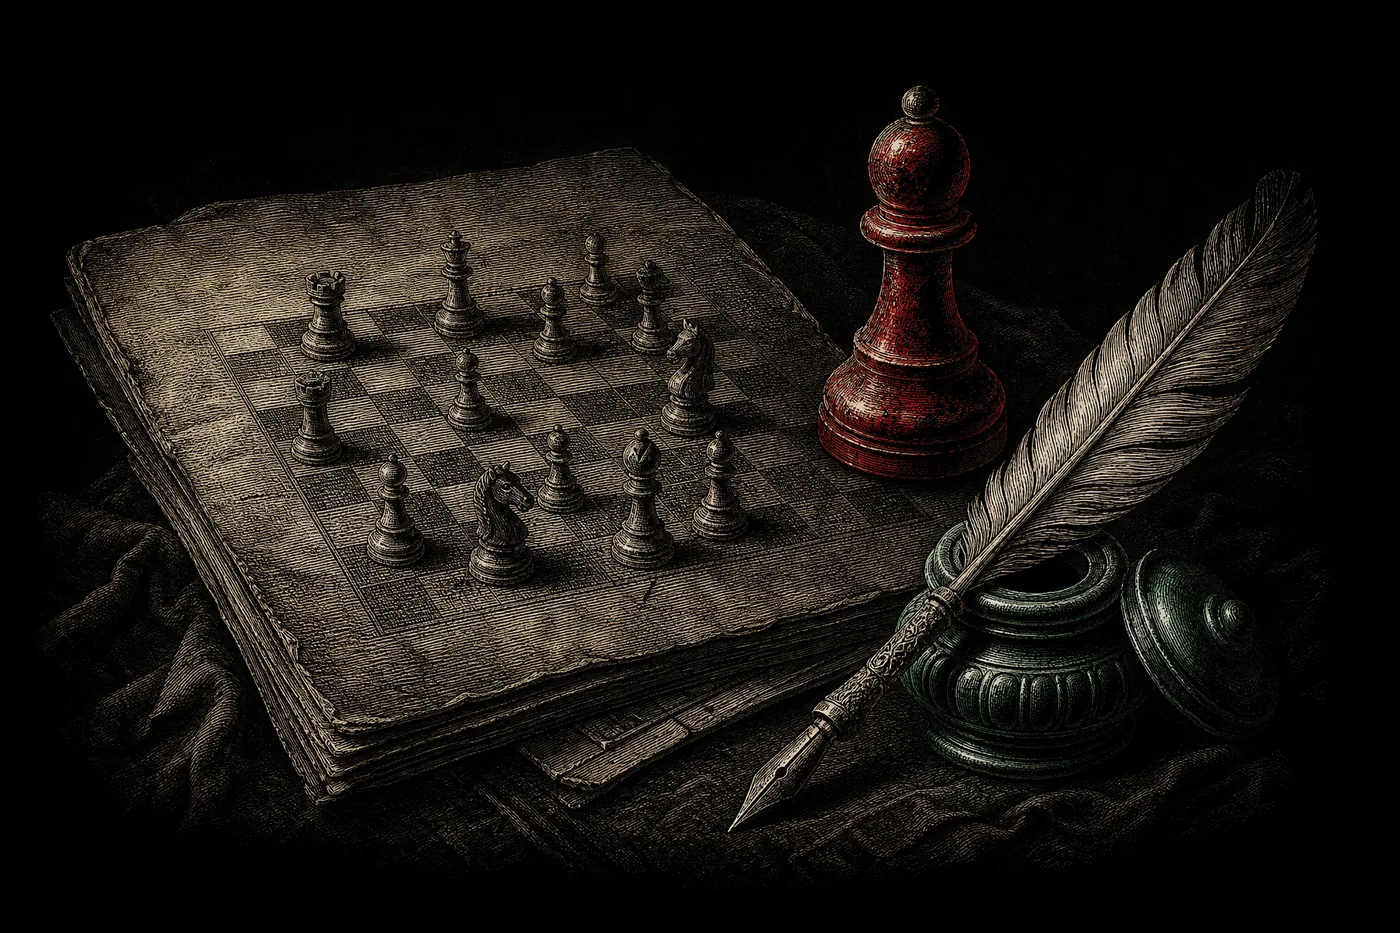
In the position above, Black’s queen on d7 is juggling two critical jobs: it defends the bishop on g4, and it guards the d8 square against a back-rank mate. White exploits the overload with Bxg4! — capturing the bishop. Now Black faces a brutal choice. If Black recaptures with Qxg4 (saving material), the queen has left the back rank — and White plays Rd8 checkmate. If Black instead leaves the bishop and guards the back rank, White is simply up a clean bishop. Either way, Black loses. That’s the cruelty of overloading: the defender was never going to win.
There’s the finish. The queen took the bait on g4, the back rank fell vacant, and the rook delivered mate on d8. The king, walled in by its own pawns, had nowhere to run.
What’s the difference between overloading and deflection?
Overloading and deflection are extremely close — so close that many players treat them as the same thing. Here’s the subtle distinction:
| Overloading | Deflection | |
|---|---|---|
| The core idea | A piece has too many duties | A piece is lured away from a duty |
| How you win | Attack one duty; the other collapses | Force the piece off its post (often a sacrifice) |
| Emphasis | The defender’s workload | The act of distracting it |
The honest truth: deflection is often how you exploit an overloaded piece. Overloading describes the condition (a piece doing too much); deflection describes the technique (pulling it off one job). When you capture the bishop on g4 above, you’re deflecting the overloaded queen. Many coaches use the words interchangeably, and that’s fine — the underlying skill is identical: find the overworked piece and make it choose.
How do you spot an overloaded piece?
Here’s the routine that catches overloads:
- List what each enemy piece is defending. Especially the powerful ones — queens and rooks often get saddled with multiple duties.
- Find the piece guarding two or more important things. A defender covering both a hanging piece and a mate square is your target.
- Attack one of its duties — ideally with a capture or check that demands an immediate response.
- Cash in on the abandoned duty. When the defender moves to handle threat #1, hit the now-undefended threat #2.
The trigger question: “Is any enemy piece doing two jobs at once?” Overworked pieces are everywhere, especially in the middlegame.
A bit of history
The concept of the “overworked piece” was hammered into the chess world by the great teachers of the early 20th century, who turned vague tactical intuition into named, learnable patterns. Once players had a word for it — overloading — they started seeing overworked defenders everywhere, and a whole class of combinations became teachable rather than just “spotted by genius.” It’s a reminder that naming a pattern is half the battle: you can’t hunt for something you can’t describe.
Common mistakes to dodge
- Miscounting the defenders. You think a piece is the only guard of a square, but a pawn or rook is quietly backing it up. Count every defender.
- Attacking the wrong duty. If you attack the less important of the two jobs, your opponent happily lets it go. Hit the duty they can’t afford to abandon — or the one whose loss is fatal.
- Forgetting your target must be reachable. Exploiting the overload only works if you can actually capture or mate the abandoned target on the next move.
- Overlooking your own overloaded pieces. Your queen might be juggling duties too. Before each move, check whether you’ve got an overworked defender about to be punished.
Key takeaways
- Overloading punishes a piece that’s defending two things at once — it can’t do both.
- Attack one of its duties; the defender abandons the other, and you strike.
- It’s the twin of deflection: overloading is the condition, deflection is the technique that exploits it.
- Hunt for queens and rooks doing double duty — they’re the usual victims.
- Always count every defender and attack the duty your opponent can’t afford to drop.
Keep climbing
You’ve now covered the whole “manipulate the defender” family — overloading, deflection, decoy, and removing the defender. The natural next step is sharpening the attacking tactics that cash in once the defense crumbles.
Next up: The fork · Also essential: deflection, decoy, and removing the defender. Want the full map? Visit the tactics hub.
Written and fact-checked by the Chess Lab Academy Editorial Team (AI-assisted, human-edited) · Every position verified with Stockfish 17 and rules checked against the FIDE Laws of Chess · Last verified 2026-06-25 · Sources · How we verify content.
