
The Lucena position is the single most important winning technique in all of chess endgames: it’s the method for converting a rook and pawn against a lone rook into a queen. The win comes from a maneuver called “building a bridge” — you use your rook as a shield so your king can escape the checks and shepherd the pawn home.
If you learn one rook endgame in your life, make it this one. It comes up constantly, and knowing it turns “drawish-looking” positions into clean wins.
The 20-second version
- Setup that wins: your pawn is on the 7th rank, your king is in front of it, and the enemy king is cut off at least one file away by your rook.
- The problem: the moment your king steps out to free the pawn, the enemy rook checks it endlessly from the side.
- The fix — build a bridge: put your rook on the 4th rank (one rank in front of where it can block), march your king out, and when the checks come, interpose your rook to end them. Pawn promotes. Game over.
What is the Lucena position?
The Lucena position is a specific, winning rook-and-pawn endgame. Picture this: you’ve got a king, a rook, and one pawn that’s pushed all the way to the 7th rank (one step from promoting). Your opponent has a king and a rook, nothing else. Your own king is parked in front of its pawn, and the enemy king is cut off — your rook keeps it at least one full file away from the action.
That’s the textbook Lucena. White’s pawn is on b7, the white king hides on b8, and Black’s king sits on d8 — one file too far away to help. White’s rook is on c1, holding the c-file as a wall. Black’s rook is behind, ready to spit out checks.
Sounds winning, right? You’re a pawn from a queen. But here’s the catch that makes Lucena a technique and not just a position.
Why can’t you just promote the pawn?
Because your own king is in the way! Your king is standing on the promotion square (or right next to it), blocking its own pawn. To promote, you have to move the king out of the way.
And the second your king steps off the front of the pawn, the enemy rook starts checking it from the side — check, check, check, forever. Your king can’t hide behind the pawn (the pawn’s only one square), and every time you try to shelter, another check arrives. Left unsolved, it’s a draw by perpetual annoyance.
This is the whole problem Lucena solves. You need a way to make the checks stop. That’s where the bridge comes in.
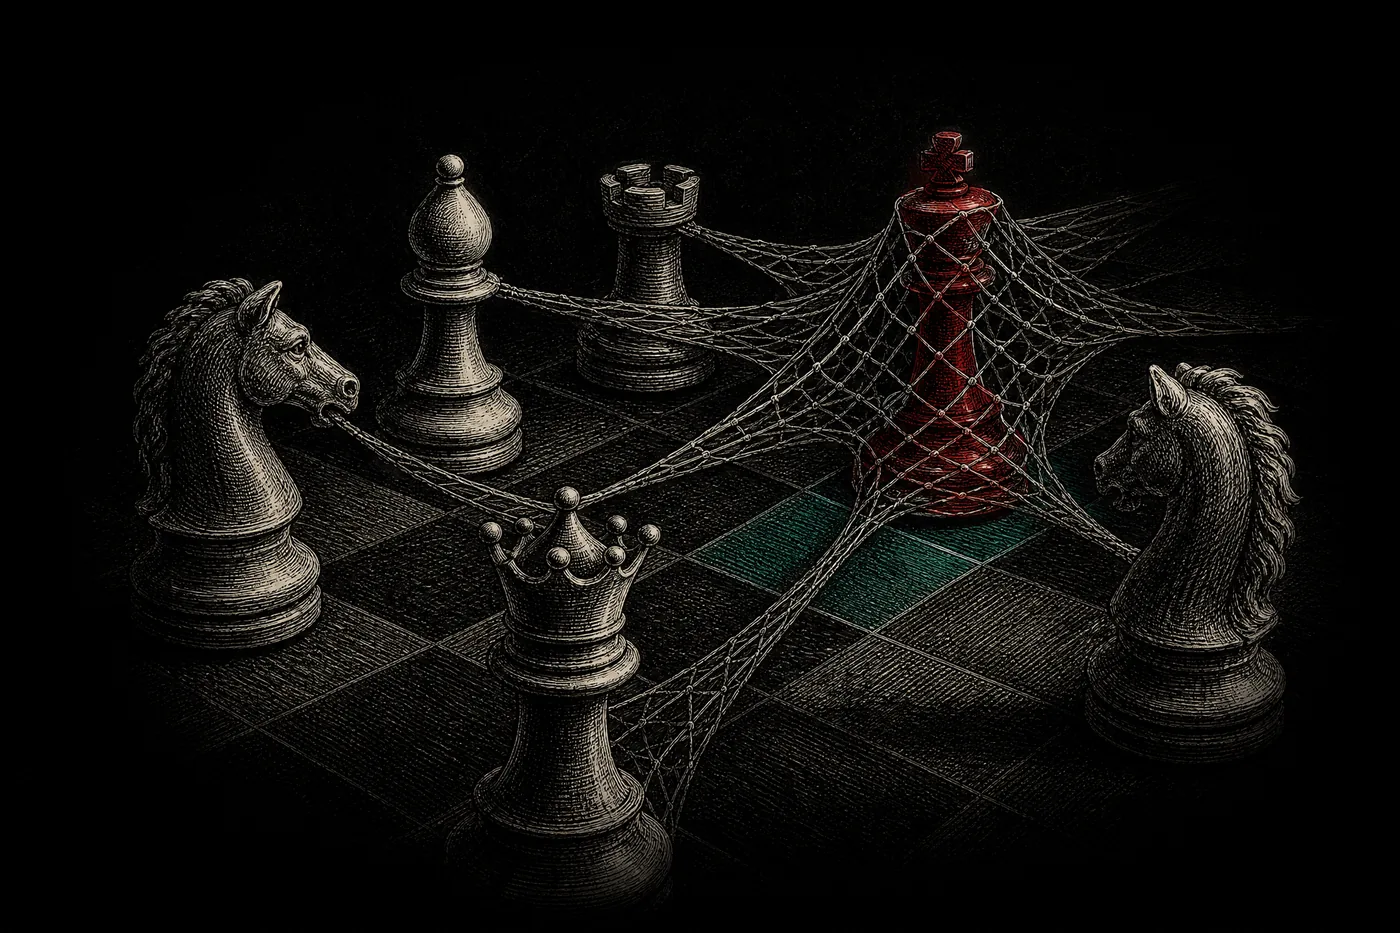
How do you build a bridge? (Step by step)
“Building a bridge” sounds fancy, but it’s just using your rook as a shield. Here’s the recipe (using the b7-pawn position above, White to move):
- Lift your rook to the 4th rank. Play your rook out to a square four ranks up from your side — here, Rc1–c4. This is the magic move. It doesn’t look like it does anything yet, but it’s pre-positioning the shield.
- Step your king out toward the enemy king’s side. Play Kb8–c7. Now the pawn is free to run… except the checks begin.
- Walk into the checks. The enemy rook checks from the side. Your king keeps marching toward the rank-4 rook: Kc7–d6, then Kd6–e5 (or wherever the checks push you, edging toward your own rook).
- Interpose the rook — the bridge! When the enemy rook checks and your king is on the same rank as your rook (the 4th), you simply block the check with your rook. The check is gone, you can’t be checked again, and…
- The pawn promotes. Next move the pawn steps to the 8th rank and becomes a queen. You’re up a whole queen. Resign-o’clock for your opponent.
The rook on the 4th rank is the bridge: when a side-check comes, your rook drops in to block it, and because it’s also far enough from your king, it can’t just be chased off. That single resource — interpose to kill the check — is what converts the win.
Why does the rook go to the 4th rank specifically?
Great question, and it’s the part people forget. The rook needs to be far enough from your king that when it blocks a check, the enemy rook can’t simply capture it or chase it with another check.
The 4th rank gives you exactly the right distance: three empty ranks between the pawn’s rank and the rook. When your king reaches the 5th or 6th rank and gets checked, the rook interposes on the 4th, and there’s a comfortable gap so the block actually sticks. Put the rook on the 2nd or 3rd rank instead and the bridge is “too short” — the enemy rook keeps harassing and you never escape.
Mnemonic: pawn on 7, rook on 4, king walks the floor.
What if the enemy king is right next to the pawn?
Then it might not be a Lucena win. The whole technique depends on the defending king being cut off — at least one file away from the pawn. If the defending king is sitting right in front of or beside the pawn, you can’t build a bridge, and the position is often a draw (that’s the Philidor territory, the defender’s dream).
So the real fight in rook endgames is often: can the stronger side cut the king off before pushing the pawn to the 7th? Win that battle and Lucena does the rest.
A bit of history
The position is named after Luis Ramírez de Lucena, a Spanish player whose 1497 book Repetición de Amores y Arte de Ajedrez is one of the oldest surviving chess texts. Funnily enough, historians think the actual “Lucena position” may not even appear in Lucena’s own book — it likely got the name centuries later by tradition. So you’re learning a 500-year-old idea with a slightly mislabeled name. Chess is wonderfully messy like that.
Common mistakes to dodge
- Pushing the pawn too early. If you shove the pawn to the 7th before cutting the enemy king off, you may hand your opponent a Philidor draw. Cut first, push second.
- Putting the rook on the wrong rank. The bridge lives on the 4th rank (from your side). Too close and the shield fails.
- Walking your king the wrong direction. Your king should march toward your own rook (the eventual shield), not aimlessly. You’re heading to the rendezvous point where the bridge gets built.
- Panicking at the checks. The checks are supposed to happen. They’re not a sign you’re losing the plot — they’re the exact thing the bridge is designed to silence.
- Forgetting it’s a draw if your king is on a rook-file pawn’s “wrong side.” Edge pawns (a- and h-file) have nasty exceptions; the clean Lucena method shown here works for knight, bishop, and central pawns.
Key takeaways
- The Lucena position wins rook + pawn vs rook when your pawn’s on the 7th, your king’s in front of it, and the enemy king is cut off a file away.
- The problem is endless side checks once your king steps out.
- Build a bridge: rook to the 4th rank, walk the king toward it, then interpose the rook to end the checks and promote.
- It only works if the enemy king is cut off — otherwise it’s a draw.
- This is the #1 must-know rook endgame. Drill it until it’s automatic.
Frequently asked questions
Is the Lucena position always a win? Yes — for non-rook-file pawns, with the king in front and the enemy king cut off, it’s a forced win using the bridge. Rook-file (a/h) pawns have tricky exceptions and can be drawn.
What’s the difference between Lucena and Philidor? Lucena is the winning technique for the stronger side (bridge-building). Philidor is the drawing technique for the defender (third-rank defense). They’re two sides of the same rook-endgame coin.
Why is it called “building a bridge”? Because your rook on the 4th rank acts like a bridge that lets your king cross the “river” of checks safely. When a check comes, the rook drops in to block it, paving the way for the king.
What rank does the rook go to? The 4th rank from your own side (so rank 4 for White, rank 5 for Black). That distance is what makes the interposing block stick.
Do I need the pawn on the 7th rank exactly? The classic Lucena has the pawn on the 7th with the king in front. Similar winning ideas exist a rank earlier, but the cleanest bridge technique is taught with the pawn on the 7th.
What if I only have a rook-pawn (a- or h-file)? Be careful — edge pawns are the famous exception and are often only drawn. The bridge method here is reliable for bishop-, knight-, and central pawns.
Keep climbing
The Lucena is the winning half of rook endgames. Now learn the defending half so you know both sides of the fight.
Next up: The Philidor position (the drawing defense) · Also essential: rook endgames overview and king and pawn endgames.
Written and fact-checked by the Chess Lab Academy Editorial Team (AI-assisted, human-edited) · Positions verified with Stockfish 17 and rules checked against the FIDE Laws of Chess · Last verified 2026-06-25 · Sources · How we verify content.
