

The Semi-Slav Defense is famous for being solid — but it hides some of the most satisfying traps in all of opening theory, including a legendary one that wins a whole piece. Some are Black’s reward when White grabs greedily; some are White’s punish when Black gets careless. We’ll show each one honestly — the bait, the spring, and the move that defuses it. Because a trap you don’t understand both ways is just a trap waiting to catch you.
Three traps to know
- The Elephant Trap — White plays the natural 7.Nxd5?? and loses a piece to 7…Nxd5! 8.Bxd8 Bb4+!
- The sharp Nxb5 grab — White snatches a pawn in the Meran and Black equalizes with …Qb6.
- The premature …b4 push — Black lunges on the queenside too early and drops material.
Trap 1: The Elephant Trap (Black wins a piece)
This is the most famous trap in the whole Slav/Semi-Slav family — and it really does win a clean piece. It arises after 1.d4 d5 2.c4 c6 3.Nc3 Nf6 4.Nf3 e6 5.Bg5 Nbd7, when White pins the f6-knight. White’s tempting idea is to “win” the d5-pawn, since it looks like the pinned f6-knight can’t recapture. After 6.cxd5 exd5, the bait is set:
White grabs the pawn with 7.Nxd5?? — and walks straight into it. Black plays 7…Nxd5! anyway:
Step through the line
Move by move — press Next to advance, Back to rewind.
The Elephant Trap in full — 7...Nxd5! 8.Bxd8 Bb4+! 9.Qd2 Bxd2+ 10.Kxd2 Kxd8 and Black emerges a clean piece up.
Here’s the magic. The f6-knight wasn’t really pinned — because 8.Bxd8 (grabbing the queen) runs into the in-between check 8…Bb4+!. After 9.Qd2 Bxd2+ 10.Kxd2 Kxd8, Black calmly recaptures the bishop on d8 and counts the pieces: Black is a clean piece up (a knight for a pawn). White’s “free pawn” cost a whole knight.
How White avoids it: simply don’t snatch the d5-pawn with Nxd5. The f6-knight only looks pinned; the …Bb4+ resource breaks the pin with check. White’s correct play is to develop normally (e3, Bd3, Qc2) instead of grabbing. The lesson: a pin isn’t real if the defender can interpose a check on the next move.
Trap 2: The sharp Nxb5 pawn-grab (Black holds)
In the Meran, White can try to win the b5-pawn by force — but rather than netting a pawn, it just hands Black dangerous activity. After the main line 5.e3 Nbd7 6.Bd3 dxc4 7.Bxc4 b5 8.Bd3 a6 9.e4 c5 10.e5 cxd4, the sharp try is 11.Nxb5, hitting the a-pawn chain:
Step through the line
Move by move — press Next to advance, Back to rewind.
The sharp Nxb5 — 11.Nxb5 axb5 12.exf6 Qb6! and Black's pieces spring to life with active bishops and a strong passed d-pawn.
After 11…axb5 12.exf6 Qb6!, Black doesn’t panic about the pawn on f6. The queen jumps to b6, hitting the loose d4-pawn and eyeing White’s exposed king, while the half-open a-file and Black’s active bishops come roaring to life. After 13.fxg7 Bxg7, material is dead level and Black has a powerful, well-coordinated position — the kind of sharp, double-edged play that strong players are happy to take with Black.
How White avoids it: don’t grab on b5 here. The capture opens the a-file straight at White’s own queenside and hands Black raging piece activity. White should keep developing and castle — the Meran is a position to navigate, not to win a pawn in by force.
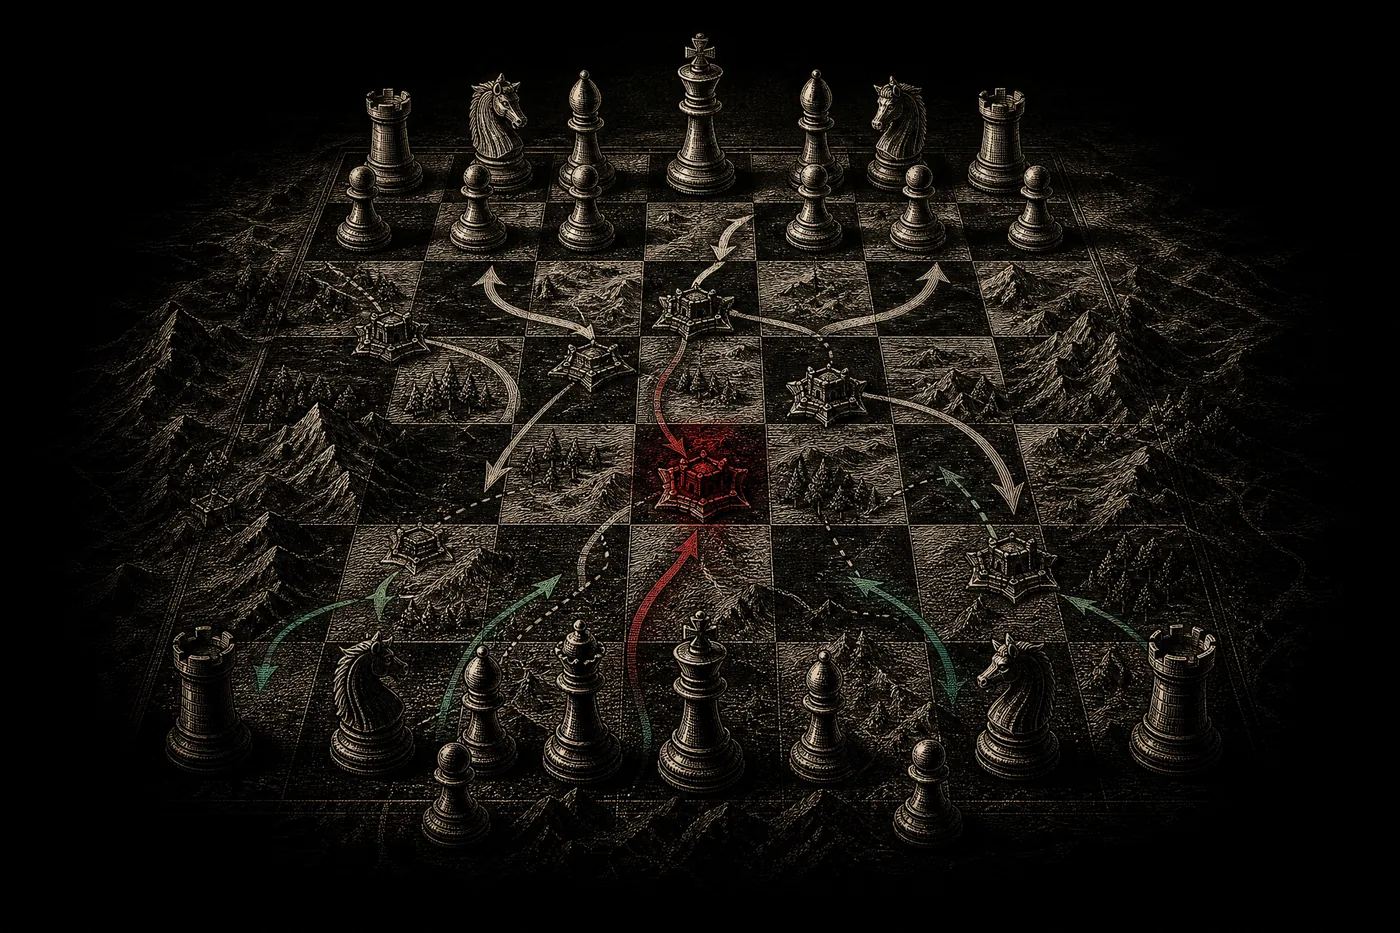
Trap 3: The premature …b4 push (White’s punish)
Black’s queenside expansion is the soul of the Meran — but timing matters. After 5.e3 Nbd7 6.Bd3 dxc4 7.Bxc4 b5 8.Bd3 a6 9.a4 (White challenging the b5-pawn), the impatient lunge 9…b4?! looks aggressive but hands White a free, happy knight:
When Black pushes 9…b4, White simply replies 10.Ne4!, redeploying the knight to a dream square in the center. From e4 the knight eyes the d6 and f6 outposts and supports a kingside build-up — far better than the cramped life it had on c3. Black has gained nothing and loosened the queenside.
How Black avoids it: don’t auto-push …b4. After 9.a4, Black usually plays 9…b4 only when …Ne4 isn’t strong, or prefers 9…Bb7 and 9…Bd6, keeping the structure flexible and meeting a4 with calm development. The b-pawn is a battering ram, but you fire it when the knight has nowhere good to go — not on autopilot.
The golden rule of Semi-Slav traps
Every trap here springs for the same reason: someone grabbed something or pushed something without checking the tactics. White snatches the d5-pawn and forgets the …Bb4+ resource; White grabs on b5 and opens lines onto their own king; Black shoves …b4 and gifts White a perfect knight square. That’s not a coincidence — it’s the opening principles enforcing themselves.
So the real takeaway isn’t “memorize these three traps.” It’s: develop with purpose, check for in-between checks, and don’t grab material that opens lines against you — and you’ll dodge nine traps out of ten while setting these up for opponents who don’t.
FAQ
What is the Elephant Trap in chess? It’s a famous trap in the Slav/Semi-Slav (1.d4 d5 2.c4 c6 3.Nc3 Nf6 4.Nf3 e6 5.Bg5 Nbd7 6.cxd5 exd5). If White grabs the d5-pawn with 7.Nxd5??, Black plays 7…Nxd5! 8.Bxd8 Bb4+! and after the queen trade recaptures on d8, ending up a clean piece up. The f6-knight only looked pinned.
Why does the Elephant Trap work? Because the pin on the f6-knight is an illusion — after 8.Bxd8, Black inserts the in-between check 8…Bb4+, forcing a queen trade, and then takes the bishop on d8. Black wins a knight for a pawn.
Can White ever grab the b5-pawn safely in the Meran? Not as a free pawn — the 11.Nxb5 line shown here opens the a-file and gives Black huge activity, leading to sharp, roughly balanced play rather than a clean extra pawn. White should keep developing and castle rather than bank on winning a pawn by force.
Do these traps work at higher levels? Strong players know the Elephant Trap cold and never play 7.Nxd5. But understanding why it works sharpens your tactical eye — and at club level the greedy pawn-grabs and careless pushes still happen all the time.
Keep climbing
Traps are tactics in disguise — the better your tactical eye, the more you’ll spot and avoid. Brush up with the opening principles, then loop back to the Semi-Slav overview, the variations guide, or the openings hub. Curious how White really tries to break the Semi-Slav? See how to beat the Semi-Slav.
Written and fact-checked by the Chess Lab Academy Editorial Team (AI-assisted, human-edited) · Lines checked against mainstream opening theory and verified with Stockfish 17 · ECO D43–D49 · Last verified 2026-06-25 · Sources · How we verify content.
