

If the Englund Gambit has one reason to exist, this is it. The opening is objectively unsound — White just keeps the extra pawn and is better — but it hides one of the most satisfying traps in all of chess: a queen-and-bishop dance that can checkmate White by move eight. It’s a genuine, forcing, real-deal mate (we verified every move), and it has snared a staggering number of unprepared opponents in blitz. We’ll show you the whole thing move by move — and, because a trap you only half-understand is a trap waiting to catch you, the exact move that defuses it.
What you’ll learn here
- The famous mate — 4.Bf4?? Qb4+ and the forced sequence to 8…Qc1#.
- The Nc3 cousin — why 5.Nc3?? loses material too.
- The defense — how White stays safe (bail out early with 7.Bxb4, or better, never play 4.Bf4).
The setup: how the trap is loaded
We reach the trap after 1.d4 e5 2.dxe5 Nc6 3.Nf3 Qe7. Black has gambited the pawn and now attacks e5 twice (knight and queen) while defending it… not at all. The e5-pawn is attacked twice, defended once. White feels the pressure and wants to add a defender.
The spring: 4.Bf4?? Qb4+!
White plays the natural 4.Bf4, developing a piece and adding a second defender to e5. It looks like the model move. But it quietly abandoned the d2-square and the e1–a5 diagonal — and Black pounces with 4…Qb4+!
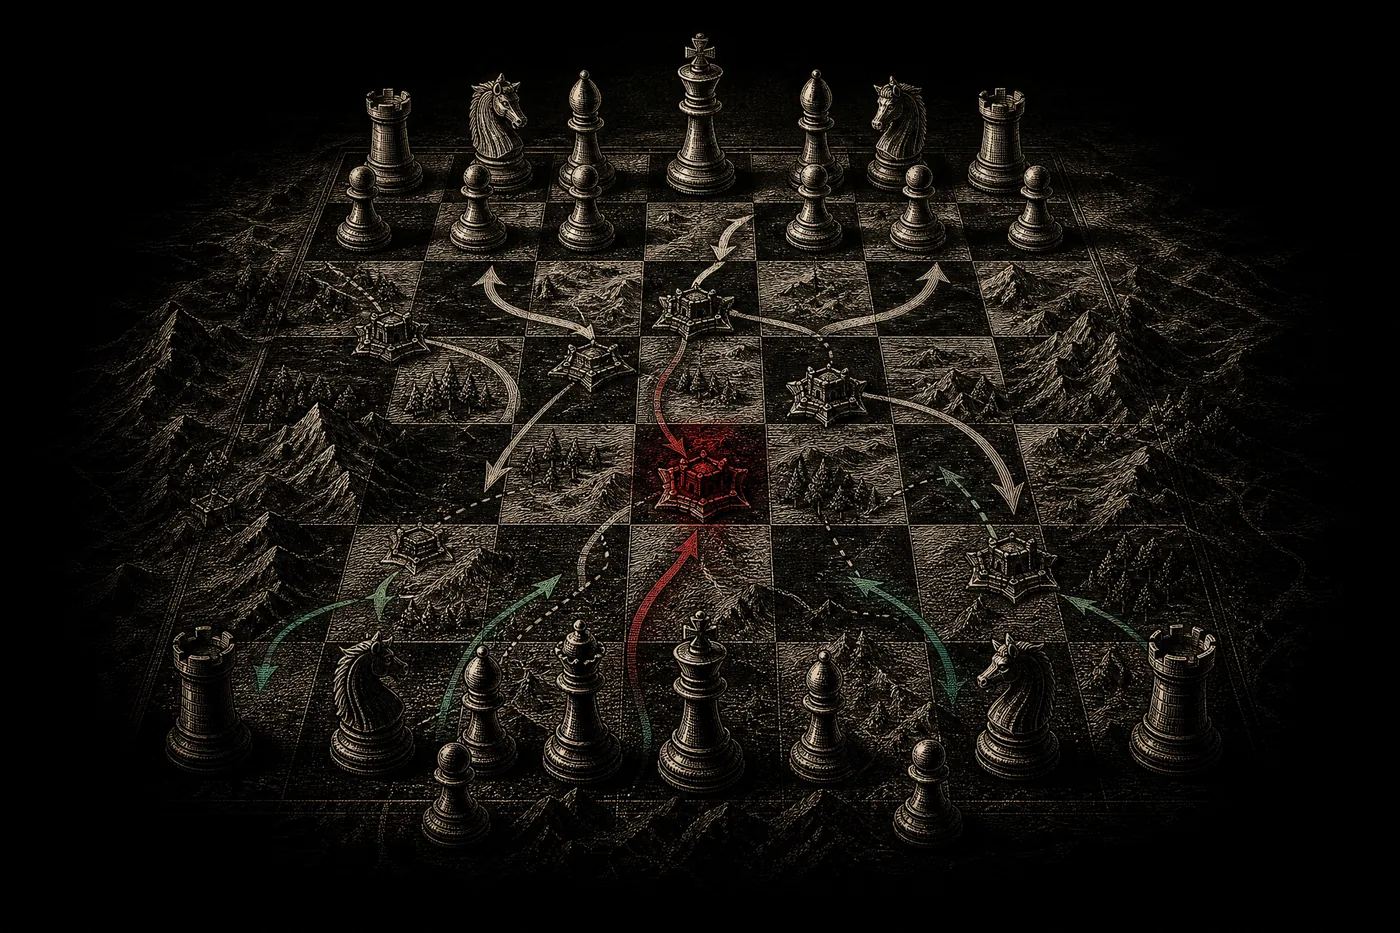
The forced mate, move by move
Here’s the whole sequence. Every white reply is the natural, forced-looking one — which is exactly why this trap works on real opponents.
Step through the line
Move by move — press Next to advance, Back to rewind.
The full trap — 5.Bd2 Qxb2 6.Bc3 Bb4 7.Qd2 Bxc3 8.Qxc3?? Qc1#. Checkmate.
5.Bd2 Qxb2 — White blocks the check with the bishop, and Black grabs the b2-pawn, now attacking the a1-rook. White must defend the rook.
6.Bc3 Bb4! — White defends the rook and attacks the queen with 6.Bc3, which looks like it wins time. But Black calmly pins the bishop with 6…Bb4!, and now the c3-bishop can’t move without dropping the rook behind it.
7.Qd2 Bxc3 8.Qxc3?? Qc1# — White defends with 7.Qd2, Black trades on c3, and when White recaptures with the queen — 8.Qxc3?? — the back rank collapses: 8…Qc1# is checkmate. The black queen drops to c1, the white king on e1 has no escape, and nothing can block or capture.
That’s the dream every Englund player chases: a clean, forced mate against the most natural-looking moves in the position.
Why 8…Qc1 is checkmate
Look at the final position. The black queen on c1 gives check along the back rank. The white king on e1:
- can’t capture the queen (it’s defended by… nothing is needed — the king simply can’t reach c1);
- can’t run to d1 or f1 (the queen covers d1, the bishop sits on f1);
- can’t escape to d2 or e2 (the queen and pieces cover them, and d2 is guarded by the c1-queen);
- can’t block — there’s no square between c1 and e1 that helps, because the knight on b1 and bishop on f1 leave the king boxed.
It’s a back-rank-style smothering that the Englund move order sets up beautifully.
The Nc3 cousin: 5.Nc3?? also loses
There’s a second way White can go wrong at move five. Instead of blocking with the bishop, White might block the check with the knight: 5.Nc3??. Now Black has 5…Qxb2!, and the queen on b2 forks the c3-knight and the a1-rook at the same time.
So both natural blocks of the …Qb4+ check lead to disaster: 5.Bd2 walks into the mate, and 5.Nc3 drops material. That’s what makes 4.Bf4 such a poisoned move.
The defense: how White escapes (and avoids it entirely)
Here’s the honest, essential part — because the trap only works if White plays right into it. There are two layers of defense:
Layer 1 — don’t play 4.Bf4 at all. The whole problem starts with that natural-looking bishop move. White can defend the e5-pawn safely with 4.Qd5 (no …Qb4+ disaster), or simply develop with 4.Nc3 or 4.Bg5 and hand the pawn back for a comfortable, better game. No 4.Bf4, no trap.
Layer 2 — bail out earlier, because by move eight it’s already too late. The last real chance is move seven: instead of the natural 7.Qd2??, play 7.Bxb4!, trading the bishops off before the pin turns deadly. After 7…Qxb4+ 8.Qd2 Qxd2+ 9.Nbxd2, the queens come off, material is level, and White has survived.
Once you’ve drifted into 7.Qd2 Bxc3, though, it really is too late. 8.Qxc3?? Qc1# is mate — and the “safe” 8.Nxc3 only dodges the mate: Black answers 8…Qxa1+!, snapping off the undefended a1-rook, and after 9.Nb1 Qb2 the queen strolls out a whole rook up. So there’s no move-eight miracle. The reliable answer is Layer 1: don’t play 4.Bf4 in the first place.
The golden rule of opening traps
This trap springs for the classic reason: White reached for the most natural move every single time — 4.Bf4 to defend the pawn, 6.Bc3 to save the rook with tempo, 8.Qxc3 to recapture — and natural isn’t always safe. That’s the opening principles enforcing themselves: develop and look one move deeper, especially when an enemy queen is checking on the edge of your camp.
The real takeaway isn’t “memorize the mate” (though you should, if you play the Englund). It’s: when your king is still in the center and an enemy queen is buzzing around b2 and c1, count the back-rank escape squares before you recapture. Do that, and you’ll dodge this trap — and spring it on opponents who don’t.
FAQ
What is the Englund Gambit trap? After 1.d4 e5 2.dxe5 Nc6 3.Nf3 Qe7, if White plays 4.Bf4??, Black wins with 4…Qb4+! 5.Bd2 Qxb2 6.Bc3 Bb4! 7.Qd2 Bxc3 8.Qxc3?? Qc1# — checkmate. It’s a forced mate that only works if White plays the natural moves.
How does White escape the Englund trap? Best: don’t play 4.Bf4 — defend with 4.Qd5 or just develop (4.Nc3 / 4.Bg5) and keep the extra pawn. If you’re already heading in, bail out with 7.Bxb4 (trading the bishops for a level game). By move eight it’s too late: 8.Qxc3?? is mate, and 8.Nxc3 only dodges it before 8…Qxa1+ wins a rook.
Why is 8…Qc1 checkmate? The queen checks the white king on e1 along the back rank, and every escape square (d1, d2, f1, e2) is covered or blocked by White’s own pieces. Nothing can capture or block the queen, so it’s mate.
Does the Englund trap really work? Yes — it’s a genuine forced mate, and it catches a lot of players in blitz. But it only works if White cooperates with 4.Bf4 and then recaptures with the queen. Prepared opponents avoid it easily, leaving Black just down a pawn.
Keep climbing
Traps are tactics in disguise — the sharper your tactical eye, the more you’ll spring and dodge. Brush up with the opening principles, then loop back to the Englund Gambit overview, the move-by-move guide, or the variations. Curious how White neutralizes the whole thing? See how to beat the Englund Gambit. And for a gambit whose traps come with real compensation, study the Budapest.
Written and fact-checked by the Chess Lab Academy Editorial Team (AI-assisted, human-edited) · Lines checked against mainstream opening theory and verified with Stockfish 17 · ECO A40 · Last verified 2026-06-25 · Sources · How we verify content.
