

Bird’s Opening is an attacking opening — but the very move that makes it aggressive, 1.f4, also loosens White’s own king along the e1–h4 diagonal. That cuts both ways: it’s a source of attacking energy and a target. The From’s Gambit (1…e5) is built entirely around exploiting that weakness, and there are real traps that can end the game on the spot — including a genuine miniature checkmate. This time it catches the White player, so learning it will save you a lot of pain.
We’ll show each trap honestly — the bait, the spring, and the move that defuses it. Because a trap you don’t understand both ways is just a trap waiting to catch you. (And if king safety feels fuzzy, the king safety guide is the perfect companion to this page.)
Three things to know
- The From’s Gambit mate — a careless g3 lets Black play …Bxg3+ and mate in a few moves. (Catches White.)
- The …g5 knight chase — a careless g3 lets Black chase White’s f3-knight to a miserable square and rip open the kingside.
- The king-weakness pitfall — the most common way Bird players trap themselves.
The From’s Gambit mate (Black mates the careless fianchetto)
This is the big one — the classic warning for every Bird player. It springs in the From’s Gambit after 1.f4 e5 2.fxe5 d6 3.exd6 Bxd6, when White, on autopilot, reaches for the Leningrad fianchetto with 4.g3?? — forgetting that the bishop on d6 is already staring at g3.
Watch the whole thing unfold:
Step through the line
Move by move — press Next to advance, Back to rewind.
The From's Gambit mate — 4.g3?? Bxg3+! 5.hxg3 Qg5 and ...Qxg3# delivers checkmate.
Here’s the sequence:
- 4.g3?? — White prepares Bg2, but this opens the floodgates. Black strikes with 4…Bxg3+!, a bishop sacrifice that smashes White’s kingside cover.
- 5.hxg3 — if White recaptures (and the alternative 5.Nf3 just drops the bishop for nothing after 5…Bxh2), the kingside is torn wide open.
- 5…Qg5! — the queen swings in, threatening the deadly …Qxg3+.
- 6.Nf3 — trying to develop and defend, but it’s too late. (Nothing saves White: the queen and the open h-file are overwhelming.)
- 6…Qxg3# — checkmate. White’s king has no escape from g3.
Look at the final position:
How White avoids it: simple — don’t play g3 against the From’s Gambit. The safe handling is 3.Nf3 (developing and covering the kingside before anything else), reaching a sound game where White keeps a healthy structure. After 3…Bxd6 you continue with normal moves — 4.Nf3, then d4, e3, Be2 — and there’s no trap at all. The whole disaster depends on White fianchettoing into an already-aimed bishop. This is the opening principles enforcing themselves: don’t weaken your king while your opponent is fully mobilized for attack.
The …g5 knight chase (don’t push g3 too soon)
Even when White develops sensibly with 4.Nf3, there’s a second pitfall to know. Black continues the From’s Gambit with 4…g5!, intending …g4 to chase the f3-knight. If White then plays the careless 5.g3??, Black springs 5…g4! and the knight is chased to a wretched square while White’s kingside falls apart:
Step through the line
Move by move — press Next to advance, Back to rewind.
The ...g5 chase — 5.g3?? g4! harries the knight, and after 6.Nd4 c5 it's driven to the rim while White's king sits in a gutted house.
After 5…g4, the f3-knight must flee, and every square is bad:
- 6.Nd4 c5! kicks it again; it scurries to the rim with 7.Nb3, out of play, while White has lost tempo and shredded the kingside.
- 6.Ng1 is a humiliating retreat that undevelops White and hands Black a raging attack for free.
White isn’t losing a piece outright here — the knight always finds a rim square — but that’s cold comfort: the g3/g4 damage and the misplaced knight hand Black a powerful initiative for the gambit pawn. How White avoids it: after 4.Nf3 g5, don’t push g3. Meet the pawn storm calmly with 5.d4, keeping the knight active and the kingside intact. Develop and challenge the center, and Black’s loosening …g5/…g4 push can rebound on Black’s own king. Develop, don’t create new weaknesses while under attack.
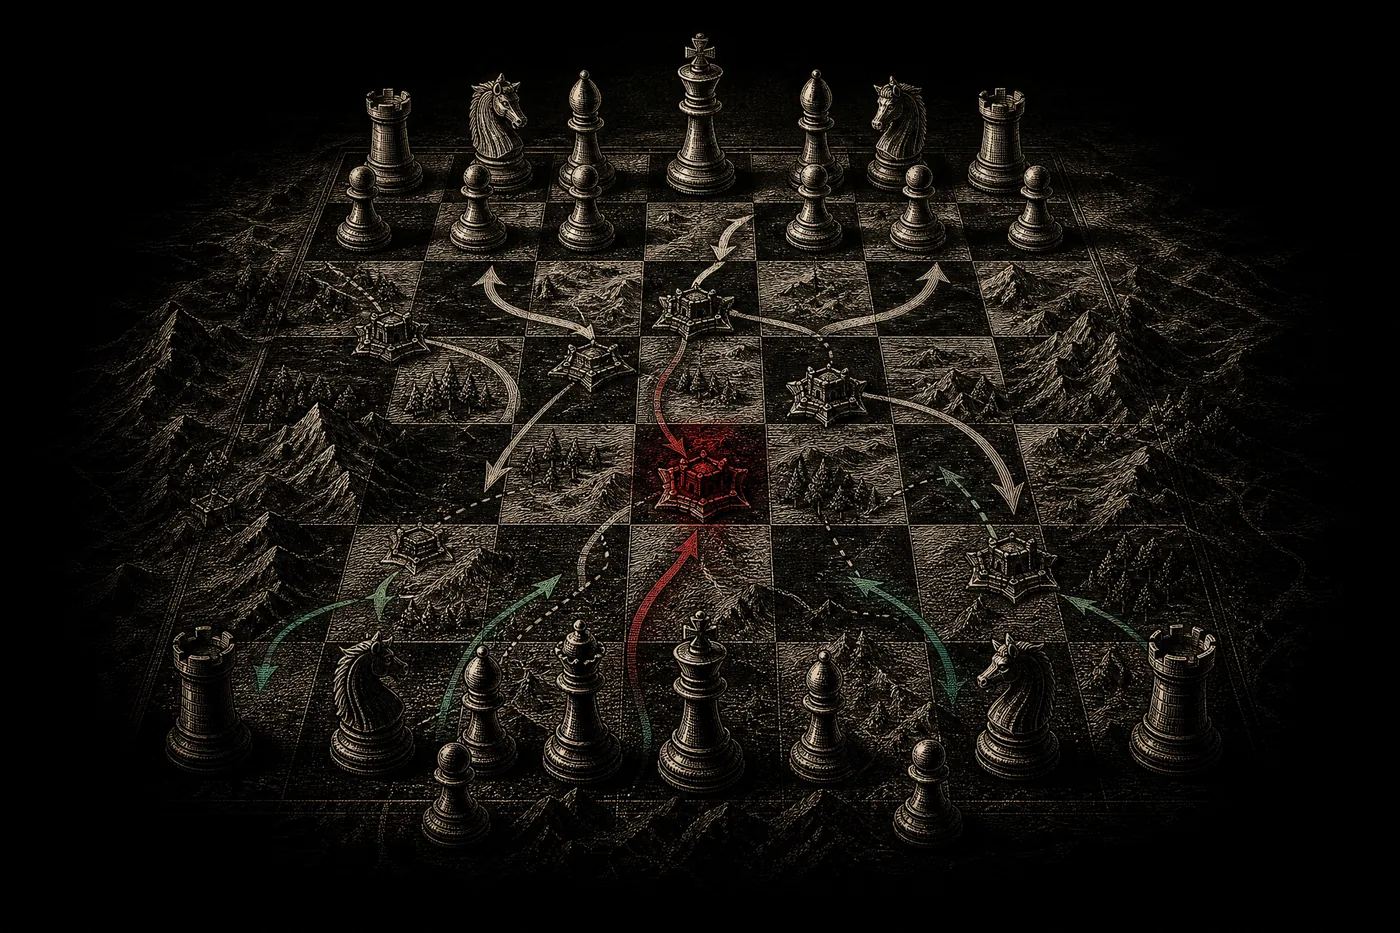
The king-weakness pitfall (don’t trap yourself)
This one’s a trap Bird players spring on themselves. The 1.f4 push and the open e1–h4 diagonal mean White’s king lives in a slightly drafty house from move one. If you delay castling, push more kingside pawns (like that fatal g3), or open the center while your king sits in the middle, Black’s pieces pour through.
The golden rule of the Bird: respect your own king, especially against the From’s Gambit. The opening’s attacking energy is real, but it only works when your king is safe first. Plenty of Bird games are lost not because the attacking idea was wrong, but because White got the order backwards — fianchettoing or grabbing space before securing the king. Develop, 0-0, then unleash your own Qh4 storm.
The golden rule of opening traps
Every spring on this page happens for the same reason: White weakened the kingside while Black was fully developed for attack. White fianchettoes into a waiting bishop and gets mated; White pushes g3 and loses a knight; White dawdles in the center and gets overrun. That’s not a coincidence — it’s the opening principles and king safety enforcing themselves.
So the real takeaway isn’t “memorize these traps.” It’s: against the From’s Gambit, play 3.Nf3, don’t push g-pawns into trouble, castle, and mind that e1–h4 diagonal — and you’ll dodge nine traps out of ten while springing your own on opponents who don’t know the Bird.
FAQ
What is the From’s Gambit mate? A famous miniature: after 1.f4 e5 2.fxe5 d6 3.exd6 Bxd6, if White plays the careless 4.g3??, Black replies 4…Bxg3+! 5.hxg3 Qg5 and 6…Qxg3# checkmate. White avoids it by playing 3.Nf3 and never fianchettoing into the d6-bishop.
Is the From’s Gambit sound? It’s a real, aggressive pawn sacrifice for fast development and attack. With accurate defense (3.Nf3) White is objectively fine and keeps a healthy game, but careless play gets punished fast.
Why is Bird’s Opening risky for White’s king? Because 1.f4 opens the e1–h4 diagonal toward White’s king. Castle early and develop soundly and it’s manageable; weaken the kingside further (like with g3 at the wrong moment) and it can be fatal.
Are these traps useful at higher levels? Strong players know them cold and won’t fall in. But understanding why they work makes you sharper — and at club level the careless g3 and the …g5 knight chase still happen all the time.
Keep climbing
Traps are tactics in disguise — the sharper your tactical eye, the more you’ll spot and avoid. Brush up with the opening principles and king safety, then loop back to the Bird overview, the variations guide, or the openings hub. Curious how Black sets these traps? See how to beat Bird’s Opening, and compare with the mirror-image tricks in the Dutch Defense.
Written and fact-checked by the Chess Lab Academy Editorial Team (AI-assisted, human-edited) · Lines checked against mainstream opening theory and verified with Stockfish 17 · ECO A02–A03 · Last verified 2026-06-25 · Sources · How we verify content.
