

The best way to understand the Benko Gambit is to watch the structure do its work. The Benko has been a trusted weapon for world champions — Mikhail Tal, Garry Kasparov, Veselin Topalov, and Magnus Carlsen have all wielded it, and it carries the name of its great pioneer, grandmaster Pal Benko, who wrote the book on it in 1974. Below are three instructive model games — clean, engine-verified representative lines, not historical transcripts — each illustrating a different face of the opening and the ideas you’ll meet in your own play.
The three model games
- The King-Walk squeeze — Black trades down and wins the gambit pawn back on a2.
- The Fianchetto bind — patient pressure regains the pawn with the more active pieces.
- The Declined game — how Black equalizes comfortably when White won’t take.
Model Game 1: The King-Walk squeeze
This is the Benko in its purest form — the Fully Accepted with White’s solid King-Walk. Black doesn’t force anything; the pieces flow to their best squares, the queens come off, and the gambit pawn returns in an endgame where Black is the more active side.
Step through the line
Move by move — press Next to advance, Back to rewind.
The King-Walk squeeze — after 18...Rxa2 Black has regained the pawn with active rooks and a dominant bishop.
What to learn: notice how little Black calculates. The plan is automatic — …Qa5, …Rfb8 to load the open files, then offer a queen trade with 14…Qa6. After 15.Qxa6 Rxa6, Black’s rook is already raking the a-file. When White lunges with 16.e5, the trades 16…dxe5 17.Nxe5 Nxe5 18.Rxe5 leave Black to grab 18…Rxa2 — the gambit pawn is back, and Black’s rooks and bishop are far more active. This is the dream Benko endgame: equal material, unequal activity.
Model Game 2: The Fianchetto bind
When White plays the calmer Fianchetto (g3, Bg2, 0-0), Black can’t rely on the King-Walk’s awkward king. Instead, Black leans on the queenside files and uses active knight play to regain the pawn. This game shows the bind working against White’s most solid setup.
Step through the line
Move by move — press Next to advance, Back to rewind.
The Fianchetto bind — Black maneuvers the knight to d3/b4 and the well-timed 18...Bxc3 wins the d5-pawn back.
What to learn: against the Fianchetto, Black’s queenside pressure (…Qb6, …Rfb8) ties White down, and the knight goes hunting: …Ng4–e5–d3–b4 lands on great squares. The key moment is 18…Bxc3! — here, trading the fianchetto bishop is correct because it removes the defender of d5, and 19.Qxc3 Nxd5 snaps the central pawn back with a perfectly equal, active game. The lesson: the g7-bishop is precious, but when it concretely wins material, let it go.
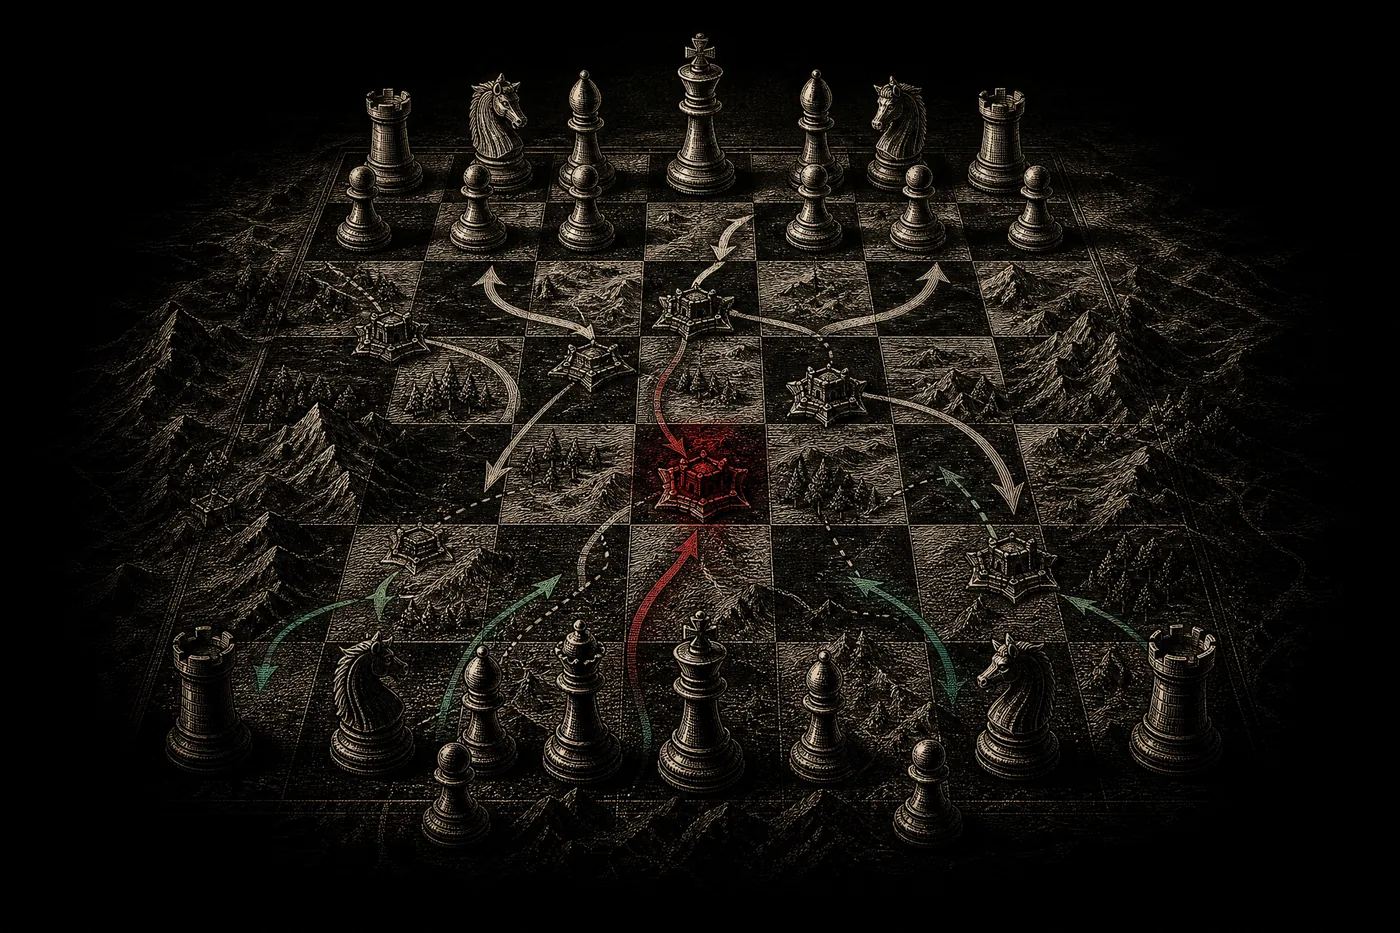
Model Game 3: When White declines
Not every White player takes the bait. Against the Declined 4.Nf3, Black can’t run the gambit — but that’s fine, because Black equalizes with simple, principled development. This game shows the calm side of facing an opponent who won’t cooperate.
Step through the line
Move by move — press Next to advance, Back to rewind.
The Declined game — after 4.Nf3, Black takes on c4, fianchettoes, and reaches a balanced King's-Indian-style game.
What to learn: when White declines with 4.Nf3, Black happily grabs 4…bxc4 and develops with a King’s-Indian-flavored setup: …d6, …g6, …Bg7, …0-0, …Nbd7. The plan …a5–a4 gains queenside space and pins down White’s b-pawn. There’s no gambit drama here — just a comfortable, equal game where understanding the structure matters more than memorizing lines. The takeaway: the Benko move order is flexible. If White won’t take the pawn, you still get a sound, pleasant position.
What these three games teach together
- The plan is automatic. In all three, Black follows the same script — fianchetto, rooks to the files, pressure the queenside — and the pawn comes back.
- Activity beats material. Black is “down a pawn” for most of each game, yet ends up with the more active pieces. That’s the whole Benko philosophy.
- Know when to trade the g7-bishop. Keep it as a rule, but unleash …Bxc3 the moment it concretely wins material (as in Game 2).
Want to play these structures yourself? Start with the move-by-move main line, then explore the full variations.
FAQ
Who are the most famous Benko Gambit players? The opening is named for grandmaster Pal Benko, who championed it from the late 1960s. World champions Mikhail Tal, Garry Kasparov, Veselin Topalov, and Magnus Carlsen have all used it, along with grandmasters like Michael Adams and Alexei Shirov.
Are these the exact historical games? No — these are clean, engine-verified model games built to teach the core Benko structures clearly, not transcripts of specific historical encounters. They show the same ideas you’ll see in real master play.
What’s the most important Benko idea these games show? That the gambit pawn reliably comes back. Black sets up the bind, pressures the queenside, and regains material with the more active position — in every one of the three games.
Why does Black sometimes trade the g7-bishop with …Bxc3? Only when it concretely wins material or wrecks White’s structure — as in Game 2, where 18…Bxc3 removes the defender of d5 and lets Black regain the central pawn.
Keep climbing
Studying model games is one of the fastest ways to improve — but it lands better once you know the opening principles and the main-line plans. Loop back to the Benko Gambit overview or browse the whole openings hub for more.
Written and fact-checked by the Chess Lab Academy Editorial Team (AI-assisted, human-edited) · Lines checked against mainstream opening theory and verified with Stockfish 17 · ECO A57–A59 · Last verified 2026-06-25 · Sources · How we verify content.
